Lectures are an important part of any course—whether face-to-face, online, remote, or hybrid. For online courses at LeBow, instructors use pre-recorded lectures that are released to students in Blackboard week by week.
A typical online lecture is comprised of a screen capture (any content displayed on your computer screen, such as PowerPoint slides, software, or course-related websites) and a voiceover or video recording by the instructor. Instructors are encouraged to make these lectures both concise and engaging, to ensure the best possible experience for online learners.
There are two options available for instructors who are recording video lectures: recording in LeBow’s on-site Recording Studio or recording from home using Zoom.
Option 1: Recording in LeBow’s On-site Recording Studio
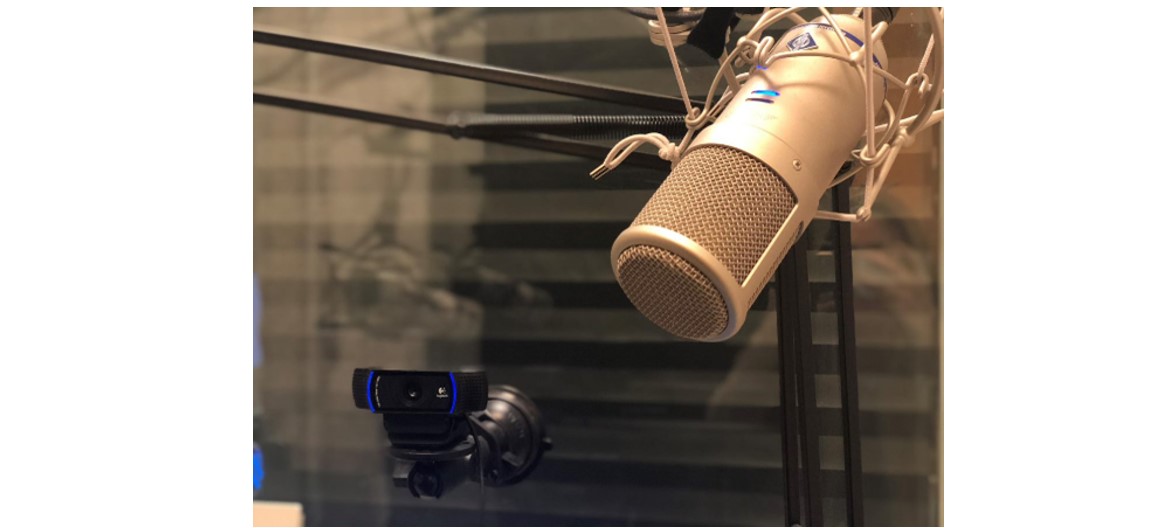
LeBow InTech has an in-house recording studio on the fifth floor of Gerri C. LeBow Hall (3220 Market Street). This workspace can greatly simplify the recording process for faculty. In addition to providing a quiet and controlled environment for lecture-recording, the studio comes equipped with high-quality cameras and microphones for creating polished lecture videos.

Instructors should first check the LeBow studio calendar and contact the InTech team to reserve a time. In preparation for their recording session, instructors can bring any lecture-related files or side decks on a flash drive or email them to the InTech team in advance.
When an instructor arrives at the LeBow studio, a member of the InTech team will provide a brief overview of the recording process. The instructor will then sit down in one of the quiet studio booths to record. Once finished, instructors can leave the recording to process. The InTech team will do all the rest of the work to import the lecture into the appropriate Blackboard course.
Option 2: Recording in Zoom
Instructors who prefer to record from home can create their lecture using a private Zoom meeting, then post the completed recording to their course. Drexel University has an institutional Zoom license, which will allow for unlimited meeting times.

Step-by-Step
- Sign into the Zoom application using your Official Drexel Zoom License
- Select New Meeting to open a Zoom meeting room for your lecture
- Use the microphone and video icons at the bottom of the Zoom window to turn on your audio and video
- Test your audio to ensure that your voice can be clearly heard
- Assess your video quality to make sure that you are well-lit and positioned at the center of the video frame
- If you plan to share your screen, ensure that any PowerPoint slides, software applications, and web pages are open and loaded to the correct page
- When you are ready to begin recording, click Record > Record to the Cloud. Do not record to the local computer.
- Once you hear the prompt that the meeting recording has begun, begin lecturing on your selected topic, making sure to share your screen when appropriate.
- If you need to take a break or pause your lecture, click Pause Recording. Click Start Recording to resume.
- Once your lecture has concluded, click Stop Recording
- Click End > End Meeting for All to close your Zoom meeting. Repeat steps 2 through 7 to start a new meeting for each recording.
- An automated email from Zoom will be sent to your Drexel inbox once your recording has finished processing. Zoom recordings typically take 1-2 times the duration of the original video to finish processing, but exact timing may vary. During this time, the recording will also be copied into Drexel’s media server, Drexel Streams.
- To share your finalized lecture video with your students, post your Zoom recording to Blackboard using Drexel Streams.
For more information about lecture-recording for online courses, please contact the Instructional Technology department at 215-895-2314 or lebowintech@drexel.edu.